Foggy headlights cut night-road visibility more than most drivers realise, and polishing without a UV-resistant finish coat means the haze returns within weeks. Most videos either omit that final protective step or use the wrong product for it. The difference between a six-year result and one that fogs back in a month almost always comes down to what goes on after the sanding.
Short verdict
Start with ChrisFix's full restoration video: wet sanding from 400 to 2000 grit, followed by a UV-resistant plastic clear coat, with no power tools needed and materials costing around $20. Comments going back six years confirm the results hold. If your headlights are mildly hazy rather than heavily yellowed, Stoney Ridge Farmer's 3M compound method is quicker and right for that job. For annual maintenance after restoring, Scotty Kilmer's two-year Meguiar's coating test is the most useful follow-up watch.
The ranking
1
Best overall
How to Restore Headlights PERMANENTLY
ChrisFix · 12:47 · Oct 2014
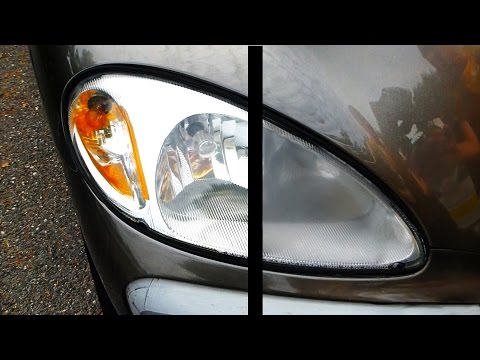
ChrisFix works through the full wet-sand restoration on a PT Cruiser without removing the headlights from the car, using 400, 600, and 2000 grit sandpaper in sequence before finishing with multiple coats of UV-resistant, non-yellowing plastic clear coat. He shows the masking technique — painters tape plus a garbage bag cut around the lens — and explains at 1:06 when to drop down to 400 grit versus starting at 600 based on how badly yellowed the lens is.
Why it ranks here: The method is complete in one pass: sanding progression, surface prep with isopropyl alcohol, and a proper UV coat. The moment at 9:21 — 'you don't want thick coats, thick coats are gonna run' — is precisely the detail that causes most DIY clear-coat jobs to fail. ChrisFix specifies a plastic-specific, UV-resistant formula 1:32–1:41, which matters when setting this against the clear-coat criticism in Scotty Kilmer's video; they are not the same product. Multiple commenters report results lasting five and six years on cars driven regularly. No power tools needed.
~12 min · easy-to-moderate · sandpaper (400/600/2000 grit), painters tape, UV-resistant plastic clear coat
2
Best for understanding why each step works
How to Fix Foggy Headlights: 3 Different Methods: Honda Civic
AMMO NYC · 13:22 · Dec 2015
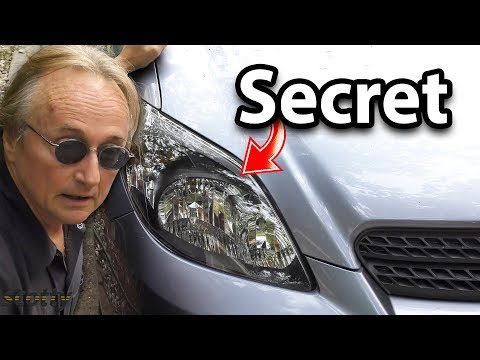
AMMO NYC splits headlight restoration into three tiers on the same Honda Civic lens: home remedies (toothpaste, bug spray), DIY compound kits, and a professional wet-sand workflow. The professional section covers three grit stages — 320–800, 1000, and 1500 — with clear explanation of the crosshatch sanding pattern and why each direction change removes the scratch marks left by the previous stage.
Why it ranks here: No other video in the pack explains the reasoning behind each step rather than just showing it. The warning at 11:00–11:18 is the clearest statement of why so many restoration jobs fail: even a result that 'looks spectacular' has no UV protection once sanding removes the factory coating, and the plastic can re-fog 'within days, even weeks' without a headlight-specific UV coat. If you want to understand what you are doing before picking up sandpaper, watch this first. The downside is it requires a polishing machine and is pitched slightly towards the enthusiast end.
~13 min · intermediate · multiple sandpaper grits, orbital polisher, compound, headlight coating
3
Best comparison of protective options
How To Restore Headlights PERMANENTLY ( BETTER THAN BRAND NEW HEADLIGHTS )
Junky DIY guy · 10:34 · Jan 2019
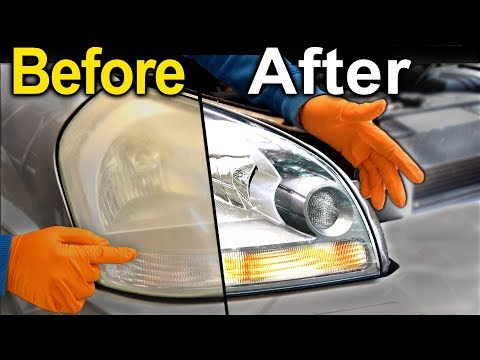
Junky DIY guy covers the full restoration workflow — wet sanding at 1500 then 3000 grit, compound, and polish — then spends roughly the second half of the video systematically evaluating five protective options: factory hard-coat, aftermarket spray cans, rattle-can clear coat, pre-cut protective film overlays, and full paint protection film (PPF). Each option is assessed for durability, cost, and whether it is realistic to apply at home.
Why it ranks here: The five-option comparison running from 5:26 to 8:08 is the most thorough protective-coating analysis in the pack. The visual demonstration of why car manufacturers avoid clear coat on headlights — showing how light refracts differently through optical mediums of different densities — gives useful context that no other ranked video provides. A commenter identifying as a professional car detailer's parent reports the methods are 'second to none'. The auto-generated transcript is choppy, but the substance is verifiable from what is legible.
~10 min · intermediate · drill with backing pad, compound, polish; PPF optional
4
Best for prevention and annual maintenance
This is the Real Way to Restore Headlights Permanently
Scotty Kilmer · 5:07 · Jun 2018
Scotty Kilmer documents a two-year real-world test comparing Meguiar's headlight coating applied annually against aftermarket assemblies left with factory-applied clear coat. He covers both the restoration step — Meguiar's PlastX polish wiped on a microfibre cloth 3:05–3:11 — and the coating step, which is two coats of Meguiar's headlight coating dried 3–5 minutes apart 3:30–3:37.
Why it ranks here: The time-backed comparison is the only one of its kind in the pack. The Matrix headlights coated annually are still crystal clear at 2:43–2:56; the Lexus assemblies left with factory clear coat are bubbling and peeling at 2:00–2:11. His argument that clear coat paint 'almost always ends up cracking within a year' 0:58–1:01 is a useful counterweight to clear-coat methods and grounded in an actual two-year observation. One commenter reports applying this to a '99 GMC Suburban with heavily yellowed headlights and seeing a full improvement in ten minutes. Best watched after restoring with another method, to understand what annual upkeep looks like.
~5 min · easy · Meguiar's PlastX polish, Meguiar's headlight coating
5
Best quick fix for mild oxidation
5 Minute CHEAP FIX to Foggy Headlights NO TOOLS Needed! Results that Last!
Stoney Ridge Farmer · 6:43 · Sep 2019
Stoney Ridge Farmer demonstrates a compound-only restoration using 3M rubbing compound, doing one headlight by hand and the second with a buffing wheel on an angle grinder so viewers can compare both. The headlight shown is heavily sun-baked, and the before-and-after at 3:33 is immediate and clear.
Why it ranks here: Wet-sanding a lens that only needs a compound pass removes more material than necessary. This video makes the case for matching the method to the severity: a few minutes of 3M compound removes surface haze without sanding. A commenter explains the mechanism accurately: 'it contains a very fine grit... this grit essentially sands the oxidised layer of plastic off.' The transcript mentions applying a UV repellent after buffing 5:28, though the product name is not fully legible. Honest about limitations without underselling the result.
~6 min · easy · 3M rubbing compound, buffing pad or rag
Where the videos disagree
Can you use rattle-can clear coat as the protective finish?
ChrisFix applies a UV-resistant, non-yellowing plastic-specific clear coat and reports results lasting years. Scotty Kilmer argues clear coat paint 'almost always ends up cracking within a year' and presents two-year photographic evidence of peeling. Junky DIY guy adds that car manufacturers avoid clear coat on headlights for optical reasons and that rattle-can products peel within three to five years.
Our read: The disagreement is partly about product specificity. Generic rattle-can clear coat and a plastic-specific UV-resistant formula are not the same product. The criticism in Scotty Kilmer's and Junky DIY's videos targets the generic type. If you use clear coat, use one formulated for polycarbonate plastic with UV resistance — that is what ChrisFix specifies at 1:32–1:41.
Do you need to wet-sand, or will compound alone restore a foggy headlight?
ChrisFix and AMMO NYC use multi-grit wet sanding for visibly yellowed, oxidised lenses and treat it as essential. Stoney Ridge Farmer and the Scotty Kilmer maintenance approach skip sanding entirely, relying on compound or polish for removal.
Our read: Both are right in the right conditions. Heavy yellowing with deep oxidation needs sanding to remove the degraded layer; compound alone will not cut deep enough. Mildly hazy lenses often respond well to compound only. If you can feel roughness when you run a finger across the lens, start with sanding.