Polyurethane is forgiving until it isn't. Most videos show someone brushing it on and call it done, skipping thinning ratios, brush preparation, and the moment at which you must stop touching the coat. That is what ruins a coat.
Short verdict
Watch paulsDIYsolutions first. It is 24 minutes long and worth every one of them: the only video here that names the four steps of loading a brush correctly and explains why fast-drying poly works against you rather than for you. For water-based finishes only, Bailey Line Road's foam-applicator guide is the cleaner choice. Before you dip anything, ten minutes with Stumpy Nubs ("Watch this before using polyurethane") sharpens your prep and can save a ruined coat.
The ranking
1
Best overall
How To Apply Polyurethane Without Bubbles, Puddles, Runs or Brush Marks | Updated
paulsDIYsolutions · 23:53 · Jan 2023
paulsDIYsolutions runs 24 minutes across 17 labelled chapters, covering brush selection, a 3:1 poly-to-mineral-spirits thinning ratio, a four-step brush-loading sequence (Dip, Drip, Dab, Drag), laying down the first coat, handling bubbles after laydown, and sanding between coats. Paul argues throughout that slow-drying poly is an advantage rather than a problem, because it has more time to level before it sets.
Why it ranks here: The brush-selection chapter 2:25 rules out every common shortcut before you open the tin. The Dip-Drip-Dab-Drag loading sequence 12:25 is the most specific brush technique in the set, and the bubbles section 18:07 distinguishes between bubbles you can leave and those that need a quick pass while the coat is still wet. The 220-grit rule for unstained wood and the brown-paper-bag approach for stained surfaces 18:53 resolves the single most common disagreement across all these videos. A commenter who had sanded a kitchen table down to bare wood multiple times after following manufacturer directions wrote that the table was finally right after using this video.
~24 min · intermediate · oil-based poly, brush, and mineral spirits required
2
Best pre-application primer
Watch this before using polyurethane wood finish!
Stumpy Nubs (James Hamilton) · 12:22 · Jun 2022
Stumpy Nubs (James Hamilton) covers the knowledge you need before the first stroke: sanding to no finer than 220 grit, straining poly through a disposable strainer into a clean container, stirring satin finishes thoroughly between coats, and choosing a natural-bristle brush for oil-based work. The video also demonstrates tip-off technique and compares brush-on to wipe-on application side by side.
Why it ranks here: The straining step 3:11 is the most common thing beginners skip, and this is the only video in the set that shows it as simple enough to bother with. The wet-edge warning 6:02 is specific: work in sections narrow enough that you can re-join the previous section before it begins to tack. A commenter who described themselves as a paid professional finishing furniture for a living wrote that they still found things to learn here. A strong companion to paulsDIYsolutions if you want the reasoning locked in before you start.
~12 min · intermediate · brush or cloth required
3
Best for water-based poly
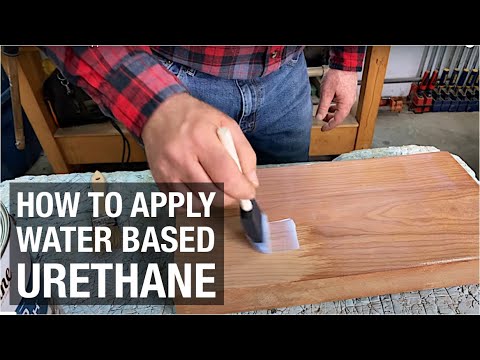
How to Apply Water Based Urethane
Bailey Line Road · 9:43 · Apr 2022
Bailey Line Road demonstrates water-based urethane applied with a foam applicator on a piece of cherry furniture wood, explaining why a foam applicator prevents the bubbles a brush introduces into water-based finishes. The video covers stirring technique, maintaining a wet edge, applying the first thin coat on a horizontal surface to reduce run risk, and the between-coat sanding that removes raised wood fibres.
Why it ranks here: The foam-applicator argument is made on camera: at 6:13 bubbles form when a drying wet edge is revisited, and at 6:18 the same area shows none when left alone. The instruction to work horizontally whenever possible 3:30 is practical and not covered this clearly elsewhere. A commenter who had used this finish for over 25 years across bathroom cabinets and tack boxes confirmed the method holds up. If water-based poly has been giving you bubble problems, this is the fix.
~10 min · beginner · foam applicator required
4
Best for first-timers
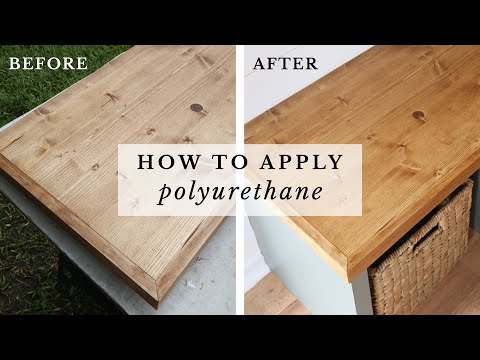
How to Apply Polyurethane to Wood | Easy Guide to Finishing Wood with Polyurethane
Angela Marie Made · 7:54 · Sep 2021
Angela Marie Made explains the choice between oil-based and water-based polyurethane, including why oil-based should be avoided over white, grey, or washed stains where its amber tint shows 0:51. The video then demonstrates water-based poly applied with a foam brush on a built-in wood bench top, covering stirring without shaking, thin first coats, 220-grit sanding between coats, and approximate dry times.
Why it ranks here: The oil-versus-water decision is handled at a practical level: the amber effect of oil-based poly over light stains is shown visually, not just described. The pace is calm and free of jargon, making it the gentlest entry point in the set. A commenter with no prior finishing experience bought the foam brushes and poly recommended in the video and finished a coffee table the following day.
~8 min · beginner · foam brush required
5
Best live pro demo
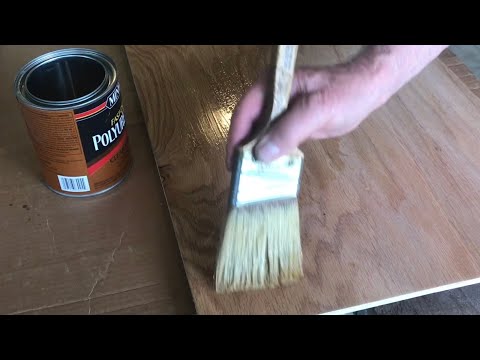
HOW TO APPLY POLYURETHANE TO WOOD
Magic Bristles LLC · 6:16 · Dec 2017
John from Magic Bristles LLC applies oil-based Minwax satin polyurethane to a real dining table in real time, showing how a professional works in sections to avoid lap marks 1:27, pops bubbles with a fast light stroke 2:24, strains the finish through a clean bucket 2:56, and uses only the weight of the brush rather than applying downward pressure 5:17. The video shows what a professional's pace looks like on an actual piece of furniture.
Why it ranks here: Most instructional videos are deliberate and slow; this one is fast, which is accurate to real-world finishing. The straining tip 2:56 follows directly from what you see on screen, making it stick. The "leave it alone" instruction 4:22 — even if you spot a missed area — is consistent with paulsDIYsolutions and Stumpy Nubs on this point, which gives you three independent confirmations. A commenter noted that watching a pro work a brush builds a confidence that a step-by-step guide cannot replicate.
~6 min · beginner–intermediate · oil-based poly and quality brush required
6
Quickest reference
TIPS and techniques on how to apply polyurethane EVENLY like a pro
Live Free · 2:01 · Oct 2019
Live Free covers the full sequence in two minutes: wiping fine dust with a damp cotton rag before starting, using a polyurethane-appropriate brush rather than a latex brush, two thin coats over one thick one, and abrasion between coats. It recommends 000-grade steel wool between coats rather than sandpaper.
Why it ranks here: For a quick reminder before you open the tin, this covers prep and sequence faster than anything else in the set. The steel wool recommendation diverges from every other ranked video here and carries a caveat worth knowing before you follow it — see the flag below. Several commenters noted that most videos on this topic take ten times as long to cover the same ground.
~2 min · beginner · overview only, not a substitute for a full tutorial
Where the videos disagree
How much should you thin polyurethane before brushing?
paulsDIYsolutions recommends a 3:1 poly-to-mineral-spirits ratio for brush-on application. Stumpy Nubs says you probably do not need to thin it for standard brush work, reserving a 50/50 mix for wipe-on. A commenter on Live Free reported success with around 10% mineral spirits added.
Our read: The gap is partly a method question. paulsDIYsolutions is targeting a specific slow-brush technique where thinning aids levelling. Stumpy Nubs is making a general point that unthinned brushing works well in most situations. Thin more aggressively for wipe-on; thin lightly or not at all for standard brush application.
What should you use between coats — sandpaper, steel wool, or a paper bag?
paulsDIYsolutions uses 220-grit sandpaper for unstained wood and a brown paper bag for stained surfaces. Stumpy Nubs recommends 400-grit between brush-on coats or a brown paper bag for thin wipe-on coats. Live Free recommends 000-grade steel wool. Angela Marie Made and GardenFork use 220-grit sandpaper.
Our read: Steel wool carries a rust risk on water-based finishes, flagged by a commenter on Live Free. Sandpaper or a brown paper bag avoids that entirely. Use 220 grit for most situations; move to 400 grit between later coats when you want minimal material removal.