Floating shelves hide most of their difficulty inside the wall: finding studs reliably, drilling perpendicular holes, and picking a mounting method that won't creep downward under load. Most tutorials present one approach as though it's the only one. The real choice is between a bracket-free finish and a joint built to carry serious weight — and the right answer depends on what you're hanging.
Short verdict
For a first build, DIY Creators is the clearest place to start: the no-bracket dowel method produces a professional result, and the video covers every step from lumber cuts to final installation, including a sanding trick few others show. If you are deciding between methods and want to see them tested to destruction, A Mere Creator is under seven minutes and does exactly that. Viewers who need to hold heavy loads should go straight to Rusty Dobbs, whose all-thread-rod approach is substantially stronger than standard bracket builds. Watch Mr. Build It before buying materials — it maps three methods to three skill levels in a single video.
The ranking
1
Best overall
Easy DIY FLOATING SHELVES No bracket | DIY CREATORS
DIY Creators · 7:28 · Oct 2017
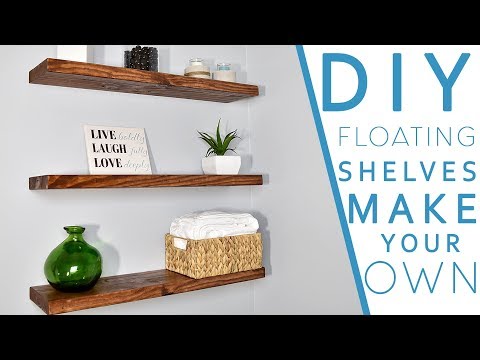
DIY Creators builds three floating shelves with no visible hardware, using a 2×8 board and a 36-inch oak dowel as the only structural component. The method presses dowels into a wall-mounted backing board to create hidden alignment pins; the finished shelf slides over the protruding ends from the front, then gets locked in place with a single screw through the dowel.
Why it ranks here: No other video here covers the complete sequence — lumber cuts, dowel sizing, staining with a pre-conditioner, two finishing coats, and wall installation — in under eight minutes without skipping a step. The drill-and-sandpaper technique for sizing dowels 3:44 is a practical tip: you chuck the dowel in a drill and run sandpaper against it while it spins, dialling in a snug fit without precision-turned stock. The pre-conditioner explanation at 5:00 is direct: it stops raw oak from blotching under stain. Commenters confirm the result holds — one viewer installed a bathroom shelf using only this video.
~7 min · moderate tools (circular saw or miter saw) · suitable for a first timber project
2
Best for matching method to skill level
3 Ways to Build Floating Shelves
Mr. Build It · 18:51 · Jan 2022
Mr. Build It runs three complete builds in one 18-minute video: a beginner shelf using 2×6 Douglas fir with pipe-flange hardware for around $35 0:33, an intermediate hollow-box construction from three 2×6 boards at $37 6:04, and an advanced version using mitered maple plywood with a cleat mounting system 10:11. Each level uses different tools and a different finishing process.
Why it ranks here: Watching this once before buying materials is genuinely useful. The beginner pipe-flange method is fast to install and requires only a drill; the intermediate box construction at 5:58 adds brad nails and wood glue. The advanced section flags a specific trap: don't sand mitered plywood past 120 grit or you risk cutting through the veneer 13:29. The end-of-video line — 'be frustrated and take it to the next project' — is more honest about the learning curve than most DIY channels.
~18 min · beginner to advanced · scales from drill-only to table saw and miter saw
3
Strongest mounting method
Strong Floating Shelves - The Strongest Option
Rusty Dobbs · 14:33 · Mar 2019
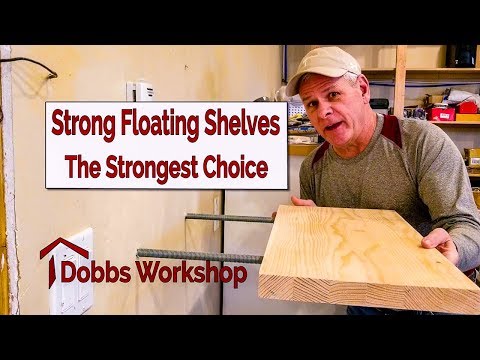
Rusty Dobbs installs half-inch all-thread steel rods directly into wall studs to serve as the sole shelf support, building a wooden shelf that fits over the protruding rods. He fabricates a custom drill-press jig from scrap plywood at 90 degrees to keep each rod perfectly perpendicular, drills into a 2×6 wall, and keeps the footage of two failed hole locations — one hitting a hidden screw, another missing the stud edge — before reaching his target.
Why it ranks here: The weight test is the most credible here: 200 pounds applied at 11:35 without any movement or concern. The honest inclusion of drilling errors at 5:05–6:48 makes this the most trustworthy guide to the part of the job most tutorials skip over. A commenter with experience hanging structural loads noted the all-thread method mirrors what tradespeople use for heavy fixtures. The DIY jig is a practical answer for anyone without a drill press.
~14 min · advanced · requires custom jig, large-diameter drill bits, metal threading tools
4
Best quick comparison
2 Ways To Do Floating Shelves - Which Is Stronger?
A Mere Creator · 6:26 · Apr 2022
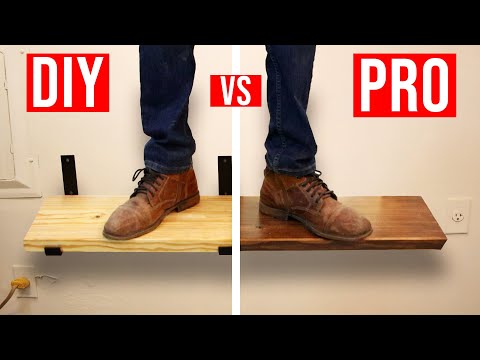
A Mere Creator builds two shelves side by side: a beginner version using inverted L-brackets on a 2×10 finished with boiled linseed oil, and a sturdier version using half-inch threaded rod inserted into a 2×10 finished with dark walnut stain and two coats of polyurethane 5:12. Both are then tested to destruction — he uses his full bodyweight on each — and both survive, with the rod shelf's rods bending rather than pulling from the wall.
Why it ranks here: Under seven minutes for two complete builds plus a real strength test is genuinely efficient. The magnet-and-phone-torch stud-finding method at 1:10 — shine the torch at a low angle to spot drywall dimples, then confirm with a magnet — is clearly demonstrated as a free alternative. The destruction test at 5:39 settles the practical question: for normal shelf loads, either method holds. This is the fastest way to make an informed choice before committing to one approach.
~6 min · beginner to intermediate · minimal tools for method one; dowelling jig useful for method two
5
Best for a premium hardwood finish
How I build floating shelves | NO PLYWOOD MITER FOLDS
Everyday Builds · 13:44 · Apr 2022
Everyday Builds constructs shelves from rough-sawn White Oak using a T-shaped facing piece that slots into rabbeted grooves cut in the top and bottom panels 2:51, avoiding miter joints entirely. The back edge receives a 10° bevel 1:15 so the shelf sits flush against a slightly wavy wall, and the finished shelves are installed over tile in a client's home with Rubio Monocoat smoke oil as the finish 12:19.
Why it ranks here: The rabbet-and-T-moulding joint is the one genuinely novel construction technique in this set: it creates a tighter, more forgiving join than a standard miter without needing a lock-miter bit. The back-bevel detail at 1:21 is a small but practical tip that makes scribing against an imperfect wall far easier. The gap-filling technique — mixing sawdust with glue and pressing it into seams before final sanding 11:36 — is a clean trade method. This is the video to watch when the shelf itself is the feature and build quality matters as much as the mounting.
~13 min · intermediate to advanced · table saw and router required; hardwood sourcing needed
6
Best for shelves with built-in lighting
DIY Floating Shelves with a Secret
Fix This Build That · 17:19 · Nov 2021
Fix This Build That builds hollow floating shelves from three-quarter-inch plywood with mitered corners, then integrates wireless LED strip lighting inside, powered by a battery pack with a recessed toggle switch hidden in the shelf base 14:19. The shelves slide onto wall-screwed cleats 13:25 so they can be removed for recharging.
Why it ranks here: The LED comparison section at 9:21 is the most thorough in any of these videos: he tests two strips side by side, explaining why a strip with four times the LED density produces truer colour and less obvious hot spots. The cleat mounting is a clean solution for shelves that need to come down periodically. One commenter who spent 30 years as an electrician called out that running a low-voltage wire through the wall to a mains USB supply would remove the recharging step — worth factoring in before committing to the battery approach.
~17 min · advanced · table saw or track saw required; basic wiring or wire-connector work needed